24
Dec
Learn how to make UV DTF cup wraps effortlessly! Discover the materials, steps, and pro tips for creating vibrant, long-lasting designs for your custom cups.
Custom cup wraps are a hot trend in the personalization space, where businesses and hobbyists can create bold and durable designs on tumblers, mugs, and more. UV Direct-to-Film (DTF) printing is the solution to achieve intricate, full-color wraps with pro results.
This article will walk you through everything you need to know to make UV DTF cup wraps. Whether you’re a small business owner or a creative enthusiast, these steps will help you master the art of creating custom designs for cups.
UV DTF cup wraps are decals printed with UV technology. Unlike traditional methods, UV DTF uses ultraviolet light to cure the ink, bonding the design to the transfer film. The wrap is then applied to the cup.
Vibrant Colors:
UV DTF wraps do not fade and protect the brightness and clarity of the finish in the long run. These wraps look new and fresh even after considerable use.
Durable Finish:
The printed wraps do not scratch or fade, and they are moisture-resistant, making them perfect for everyday use.
Customizable:
Compatible with designs with gradients and multiple colors. Intricate and detailed designs can be easily printed using UV DTF technology.
Eco-Friendly:
UV DTF printing creates little waste when compared to other conventional printing techniques.
UV DTF technology proves to be useful for making cup wraps for use, for gifting, or for sale in a competitive market.
To make UV DTF cup wraps you need specific tools and materials to get professional results. Here’s a list of what you’ll need:
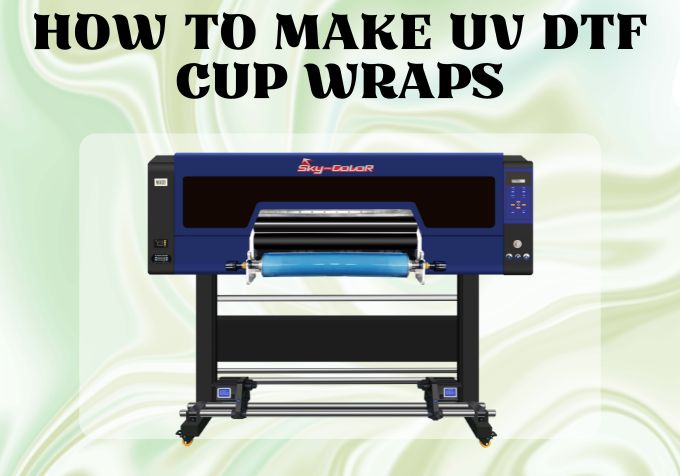
UV DTF Printer
For printing high-res designs on transfer film. UV flatbed or hybrid printers are popular.
Transfer Film
Special adhesive film for UV printing. Look for high-quality transparent film for a clean finish.
UV Ink
UV-compatible inks for vibrant colors and durability.
Laminating Machine
To bond the printed design to the transfer film.
Cutting Tools
Scissors or a precision cutter to cut the wrap to size.
Clean Cups
Make sure the cups are clean of dirt, grease, or residue before applying the wrap. Stainless steel and glass cups are best.
Protective Gloves
For handling the materials without leaving fingerprints or smudges.
Follow these steps to create and apply your UV DTF cup wraps:
Step 1: Prepare the Design
Use graphic design software like Adobe Illustrator, Canva, or CorelDRAW to design. Make sure it fits the cup for a smooth finish. Use vector graphics for sharp, scalable designs and add text or patterns.
Load the transfer film into your UV DTF printer. Print with UV ink and select the highest resolution for good results. Let the ink dry under the printer’s UV light.
Put the printed transfer film into a laminator. Apply an adhesive to the design to bond to the film. Use a laminating sheet that matches the film’s specs to prevent peeling.
Cut the printed and laminated design to fit the cup. Leave a little margin for overlap.
Wipe the cup down with rubbing alcohol and let it dry completely.
Peel the backing off the transfer film and align the design to the cup. Smooth the wrap onto the cup, starting in the middle and working out to get rid of air bubbles. Use a heat gun for curved surfaces to get a perfect application.
Clear coat or seal the printed design for durability. Good for cups that get washed a lot or are used in outdoor settings.
Even with precise steps, things can go wrong. Here’s how to fix common issues:
Air Bubbles:
Use a squeegee or heat gun to smooth out the prints. Work in small sections while applying.
Design Misalignment:
Measure the cup before trimming the wrap. Align the transfer film with the cup’s starting point.
Ink Smudging:
Make sure the ink is fully cured before handling. Don’t apply too much pressure during lamination.
Peeling Edges:
Use good quality film and make sure the cup is clean. Seal the edges with a clear coat.
Try Different Designs: Test different colors, patterns, and textures.
Maintain Your Printer: Clean your UV printer regularly to prevent clogs and get consistent output.
Use Good Quality: Invest in good quality films, inks, and tools for pro results.
Be Patient: Allow enough time for curing, laminating, and applying to avoid mistakes.
Making UV DTF cup wraps is fun and combines art and tech. Follow these steps and use the right tools and you can create amazing, durable designs for personal or commercial use. Consistency and being able to adapt fast is key. UV DTF allows for customization and your wraps will be built to last. Whether you’re gifting or growing your business, mastering this will open up a world of possibilities in the world of personalized drinkware.
Start your UV DTF cup wrap journey today and unlock the potential of this versatile printing method!
If there's anything we can do to further showcase machines' features, please let us know.
Email: sale@fedar.net
Whatsapp: http://wa.me/8615515715397
Our company has over 30 models of printers with independent intellectual property rights and patents. Marketed under the esteemed brands of Skycolor, Stormjet, and Fedar brands, these printers cover a wide range, including digital textile printers, UV printers, eco-solvent printers and more. Known for their exceptional quality and performance.
